Overview
When managing a kids club, you may need to inform guests about your privacy policy, terms of use, or other important legal information. To do this, you can create a legal notice and attach it to the registration process of a kids club.
This article explains how to create a legal notice and how to attach it to a specific kids club in the CMS.
Before getting started
Before creating and/or attaching a legal notice to a kids club, make sure you:
- Have access to the CMS under Content > Legal texts and/or Settings > Corporate > Content > Legal texts.
- Know what legal information needs to be shared (e.g., terms and conditions, data protection policies)
Step-by-step guide
Step 1: Create a legal notice
You can create legal notice texts at two levels:
-
Property level:
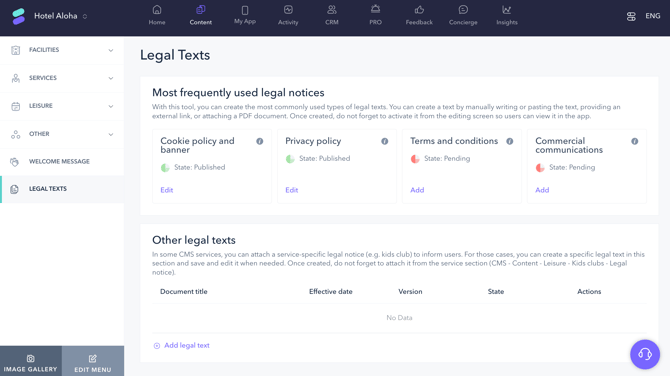
Go to Content > Legal Texts in the left-hand menu.
-
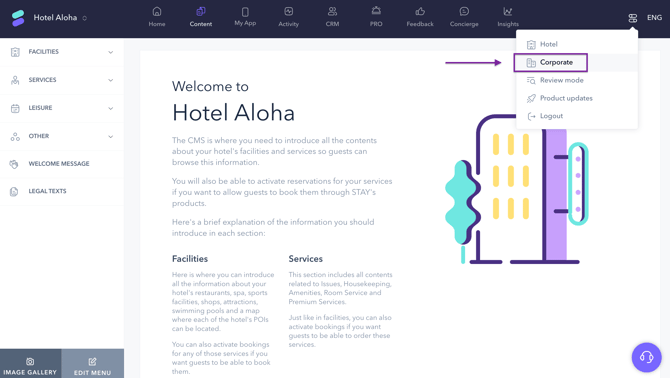
Corporate level (multi-property operations):
Go to Settings > Corporate > Content > Legal Texts.
Once there:
- Click Add or Add legal text.
- Click the Edit icon.
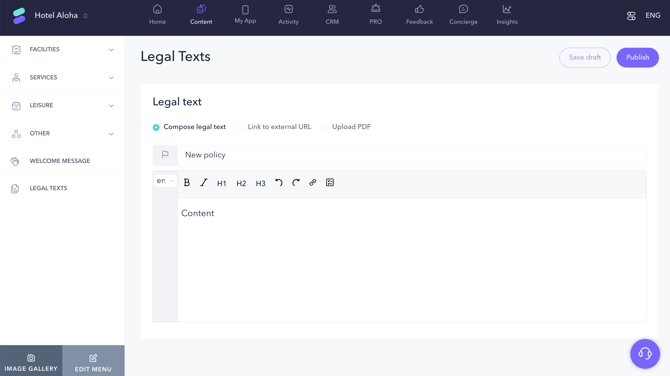
- Choose how you want to add the content:
- Compose legal text: Write or paste your legal notice using the text editor and assign it a name.
- Link to external URL: Insert a URL that links to an external legal document and assign it a name.
- Upload PDF: Upload a PDF version of the legal notice and assign it a name.
- Click Save draft if you want to finish later.
- Click Publish to make the text available for use in services like the kids club.
Step 2: Attach the legal notice to a kids club
Once your legal text is published:
- Go to Content > Leisure > Kids clubs.
- Click Edit on the club you want to update.
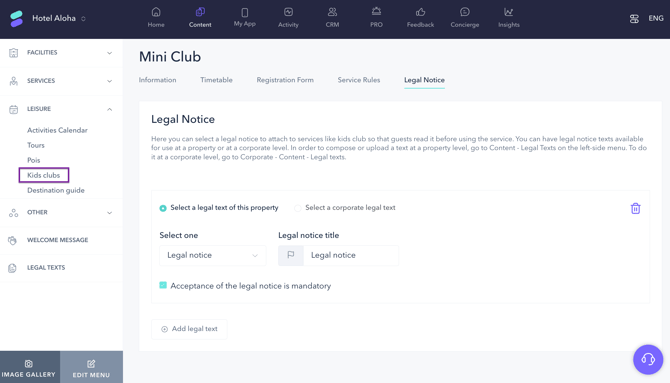
- Open the Legal notice tab from the top menu.
- Click on Add legal text.
- Select one of these options:
- Select a legal text of this property
- Select a corporate legal text
- Use the dropdown menu to select one of your published legal texts.
- Add a name to help guests understand what the notice is about (e.g., “Privacy policy” or “Terms and conditions”).
- If you want guests to accept the legal notice before continuing, check the box labeled Acceptance of the legal notice is mandatory.
- Click Save changes.
If you need to remove the legal notice from a kids club, click on the trash icon next to the notice.
Next steps
Once your legal notice is attached:
- Make sure to preview the club in the guest app to confirm that the legal text is visible.
- If you haven’t already, set up the registration form to collect information from guardians and children. See article: How to set up the registration process for a kids club.
- Consider setting up service rules to ensure proper use of the kids club. See article: How to add service rules to a kids club.
Need further assistance?
If you have additional questions or require further assistance:
- Contact us via live chat
- Send a ticket to our Support team
- Visit STAY Academy, our training platform